

Pro-Q Smokers & BBQs
Pro-Q Smokers & BBQs

The Basics of Home Cured Bacon
Learn how to cure your own bacon at home in just a few simple steps. From choosing the right cut of pork to mixing your cure and getting the timing right, this beginner-friendly guide walks you through the whole process — with links to our free Cure Calculator and ProQ kits to make it even easier.

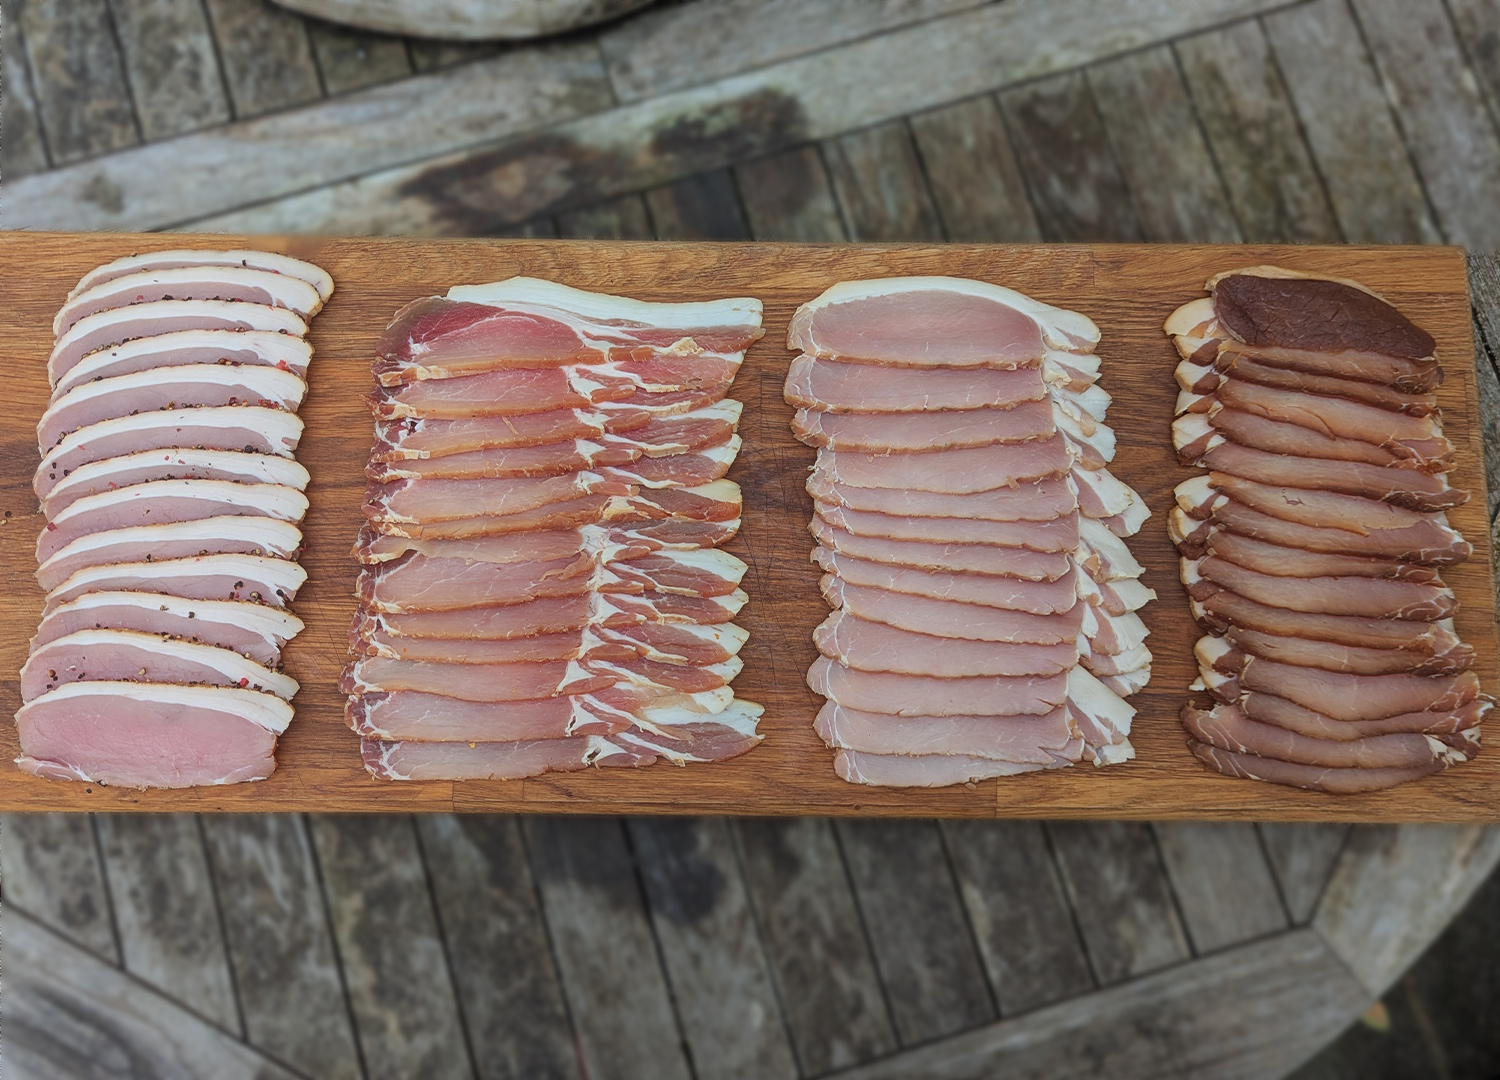
Making your own bacon at home is far easier than most people think — and once you've tasted the result, you'll never look back. With some fresh pork, the right cure, and a few days of patience, you can produce proper, flavourful bacon from scratch.
What You'll Need
- Good quality, fresh belly or loin pork, these will make streaky or back bacon
- Cure #1 to mix your own cure, plus
- Salt
- Sugar (or maple syrup/honey)
- Or a pre-mixed cure - we sell these on their own or as kits
- Ziplock bag or non-metallic container with a lid that's large enough for your bacon and fits in the fridge
How To Do It
The process is really simple, and the hardest part is the maths for the cure, but we've taken care of that for you with our free Cure Calculator (no email or signup needed).
- First of all, make sure you have really cleaned your equipment and work surfaces well, contamination is your enemy, and can cause spoilage.
- Trim any straggly bits off (and the rind if you prefer) then weigh the bacon carefully, and measure it's thickest point in inches, making a note of those.
- Pop the meat weight into the calculator, leaving the other values as they are (adjust them to your preferences next time but they're pretty well balanced at 3% salt/1.5% Sugar in our opinion).
- To work out the required curing time, just click the “Curing Time” tab on the calculator and enter your details. Choose “Round” for loin or “Flat Cut” for belly, then enter the thickness of your meat.
- Mix your cure according to the calculator results, weighing carefully - you can add herbs and spices to the cure once it's weighed - these don't need to be as specific, roughly 1/2 teaspoon per 1 KG of meat is good, then apply it evenly to all sides of the pork.
- Put the pork in your container or zip-lock bag and pop it in the fridge, remembering to turn over once a day to spread the cure and liquid around.
- Once the pork is cured, it needs drying. Rinse off the cure under cold tap water and pat it dry with kitchen towel, then put it on a rack in the fridge for around half the curing time, you'll feel the surface become dryer but slightly tacky.
You've now got bacon! Easy peasy. At this point, you can smoke the bacon with one of our Cold Smoke Generators or just slice, cook, and eat it.
For more information on curing and bacon, grab a copy of our book here or on Amazon (Kindle or Softcover), and if you want to buy a kit from us to just try it out, you can do that here.